Pages

Wednesday 29 May 2013

Pintastic!

With barely 10 days until Steve and I reach our first $10K saving milestone, I've been finding myself getting more and more excited about owning our first renovator home. And thanks to the wonderful invention of Pinterest I can spend almost all day dreaming and designing. I've been slowly adding to my Future House pin board with bits and pieces from bathroom inspiration, to home decor accessories even my dream of having a hidden bookshelf entrance into a study. I'm hoping that by the time we have the keys to our new home I'll have honed in on our style and the types of rooms we want to create. And maybe, just maybe, my dreams will become reality.

I love the timber underneath the kithen island

I really like the grey and yellow colour scheme

I love the colour of the walls
Loving the grey, large sqaure tiles in bathrooms

I would love to create this outdoor space. Incredible before and after pic!

I love the use of brick and I think it's a workable design for a small kitchen

Monday 27 May 2013

Leaving my own stamp

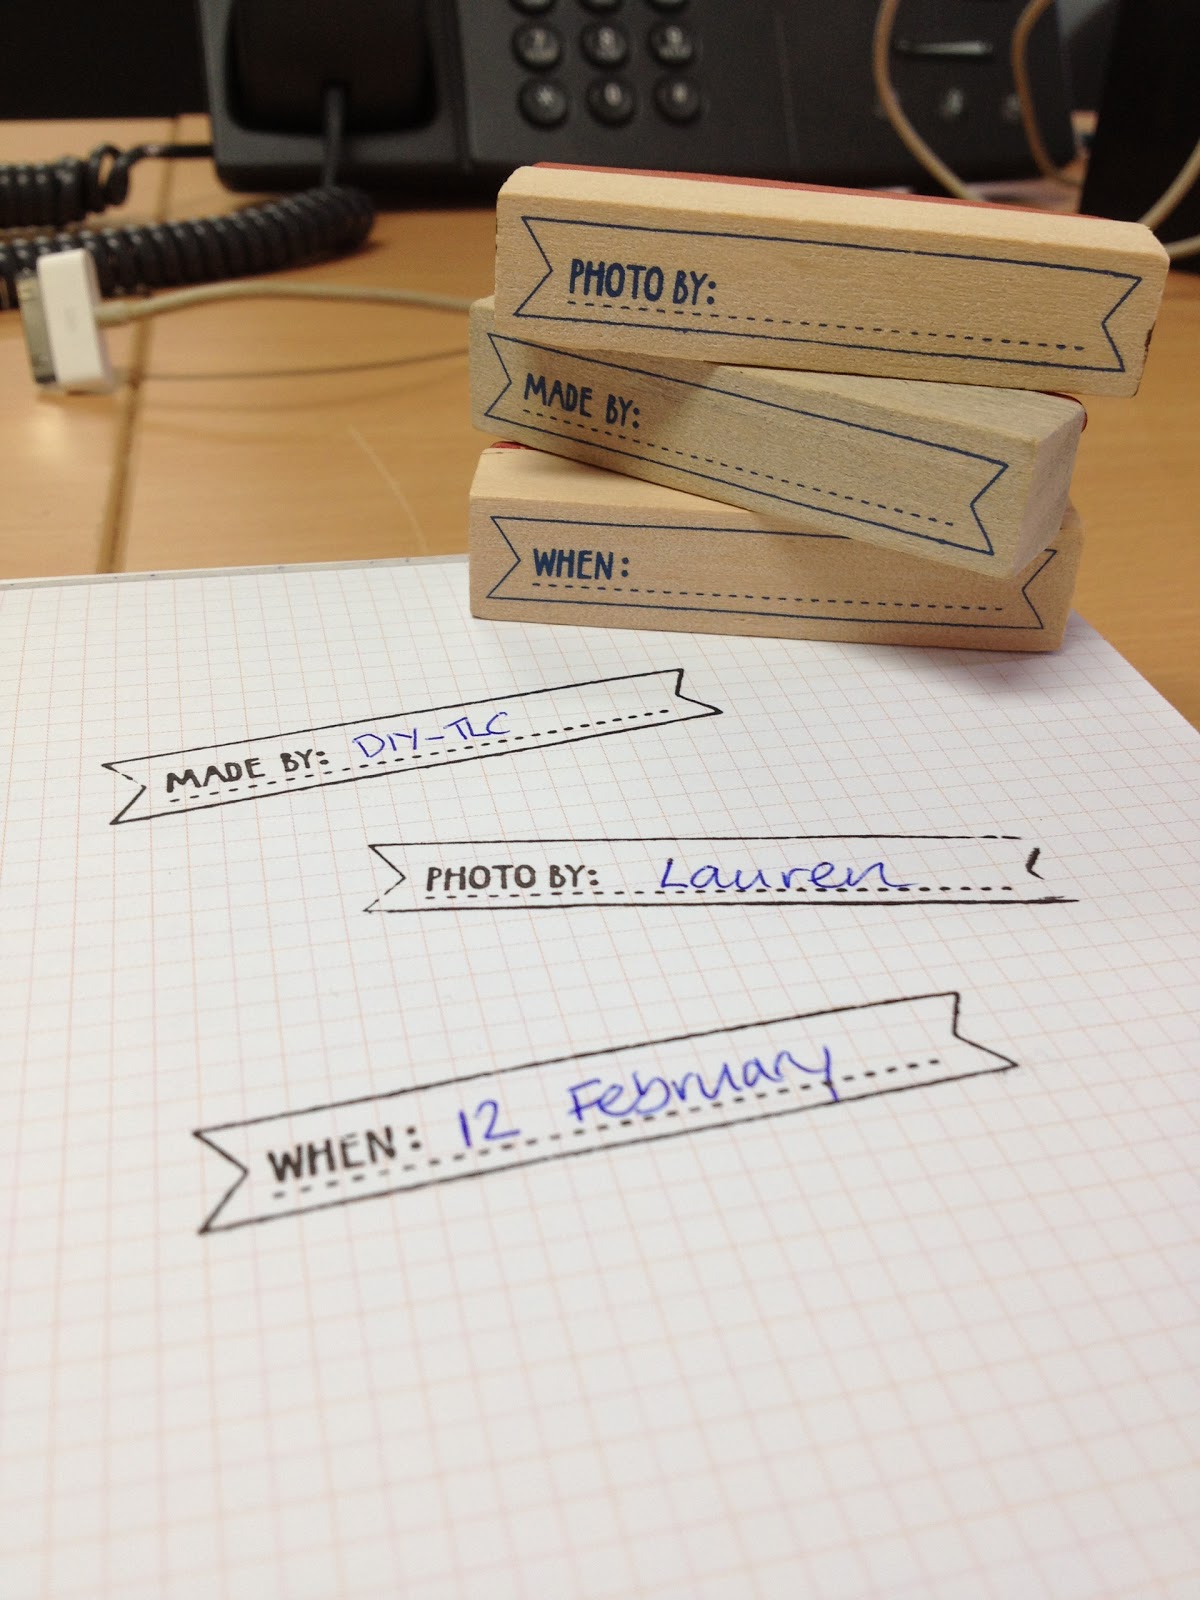
I'm the first to admit that I have a little bit of an obsession with stationary. Cute paper, pens, note pads, and my new love stamps! I recently bought these lovely stamps from Kikki-K and thought they might come in handy for labelling the holiday snaps I recently printed.


And the best news is they will compliment the collection of stamps I already own (I did admit I have an addiction). I used them for Christmas gift wrapping last year. Simple brown paper and hand-printed labels really gave the personal touch I was going for. I also secretly love gift wrapping too. I will, however, draw the line at adding a gift wrapping room to our new house. I am in control of my vices, I swear!


Sunday 26 May 2013

Love, love, love

Over the weekend Steve and I attended my highschool girlfriend's wedding and it inspired me to add a little more love into my own life. So as another lazy Sunday came around I headed to the art store to grab some supplies. I wanted to create a piece to fill an empty corner in our living area.


I attached each of the letters with the hot glue gun and with a little white spray paint with self primer I was well underway. I wanted to keep it all white to create an embossed feel.


I'm getting much better at spray painting. My first attempt taught me the importance of keeping a decent distance, while having enough newspaper underneath to avoid painting the garden another shade AGAIN. It took about three coats and a couple of hours drying time and I was done. The spray paint had a gloss finish so it ended up with a really nice shine to it. I think next time, though, I'd like to use some lace or doily to create more of an effect under the lettering, maybe even try it in grey like this.


She says 'I do'

This weekend one of my best girlfriends got married to the love of her life in a stunning ceremony in Maleny in the Sunshine Coast hinterland. Addie and Matt managed to pull together the perfect traditional wedding that was both stylish and captured the picturesque scenery. I mean seriously, check out the view!


The venue Weddings at Tiffanys was a one stop shop for the perfect day. From the stunning setting, to the amazing food, right down to the staff service couldn't be faulted. It truly was a magical day.


They both planned and themed their own wedding, adding personal touches along the way. It wasn't difficult to see the love they have for each other and how much they care for their friends and family. It was a real celebration of finding true love. The mood was infectious.


The wish for a life together filled with happiness, joy and wonderment certainly had the perfect start. 

Wednesday 22 May 2013

A burst of sunshine

When Brisbane hits single digit temperatures, it's safe to say it's officially winter! People in the streets are rugged up,  donning scarves and beanies, ugg boots and asking strangers on the street "gees, how cold is it!?"

I've always loved winter time, the clothes, the crisp air and the beautiful cloudless days. Unlike other countries- especially the US and Canada which we've just come back from holiday- winter is a stunning time of year. To embrace the change in season I thought I would do a few DIY changes in our little living area.

I'd recently bought a cute little owl figurine from a dollar store, along with a metallic silver flower ornament that I thought could do with a little burst of colour.

Not an exact replica, but close enough to my original

A trip to Bunnings to pick up a bright yellow can of spray paint and I was half-way to finishing! As I'm still a novice at the ole DIY projects I'm not ashamed to admit that I made a bit of a mess spray painting in the backyard. Despite laying out newspaper, I underestimated the spray zone and needless to say the grass and a substantial part of the green hedge is now a brilliant shade of yellow!

I had read about the need to keep the can at least 15cms away from the object while spray painting but I got a little close which causes a dripping effect. But nothing a paint brush can't quickly solve.

About three coats of paint and my little objects were shining as bright as the sun!


Cheat's Way Out

It's been well over two months since Steve and I came back from our whirlwind holiday in the New York and Canada. So it's a little embarassing to say we haven't even printed our holiday snaps, let alone hang them.
So I popped off to Harvey Norman to have the pics printed for a bargain price of $8 for about 20 of the best ones! And the best part was it only took 10mins. Gone are the days of dropping off a roll of film and coming back 24 hours later, only to discover all your pictures have your thumb smudged across them.

Doing some research I thought Ikea would be the way to go for pictures frames, as I was looking for a range of sizes and with white frames. I struck gold however at Freedom Furniture who were selling ten frames for $80, but I timed my shopping trip perfectly with a 3 day sale and got them for $60!


So pretty, right?

I've always been really bad at hanging pictures and getting them straight. But I found a really good idea on Pinterest to get a cluster of pictures looking just right.


I popped the photos in their frames and  lay them out on some newspaper, finding the arrangement I wanted and traced around them.


It was just a matter of cutting out each little square and then taping the newspaper to the wall where I wanted them to hang. I used my handy spirit level app on my iPhone to get the paper straight, so as long as it was right, the rest would be.
Putting a little pencil mark where the hook would go on the wall, it was then simply a matter of placing the adhesive command strip hook on the wall and attaching the photos into the cut out hole.

...excuse the messy bed. There was a lot of jumping around on it after I succeeded!
Voila!

Monday 20 May 2013

Meeting Milestones

Payday is a great day in anyone's book, but I get particularly excited every fortnight these days because it means I'm putting another chunk into our joint savings account and slowing chipping away at the end goal- a home deposit.
Recently Steve and I discussed what we should do to celebrate as we reached the big savings milestones. And while the idea of going away for the weekend or buying ourselves something nice all sounded like great ideas, we must admit it sounded a bit counter-intuitive celebrating saving by spending. But Steve being the genius that he is decided perhaps we make a small investment in a case of wine from a winery we visited during our Christmas road trip through the Barossa Valley to Melbourne.
This week the case of Langmeil Orphan Bank Shiraz arrived!


And mark the milestones with a couple of simple labels!


Every ten thousand dollars we get to drink! It's like a really fun drinking game!


We are approximately 3 weeks off from popping the cork on the first bottle!

Sunday 19 May 2013

$7 art!

Keeping a budget is tricky business! So I've been looking out for some fun, inexpensive projects that create a lot of bang for your buck. I recently purchased a design book by bloggers Young House Love  which has some amazing ideas for Sunday projects.

I spotted a great little piece of wall art that I thought would be manageable on a busy weekend, add some much needed colour to our walls and the best bit- cheap as chips!


So I went down to the nearby $1 store and purchased a medium size frame for a whole $7! And after a visit to the hardware store I nabbed a collection of paint chips for free!

Snipping them into thin rectangular strips, I lined them up to create a chevron shape design.


I used an old glue stick to adhere them to a white piece of card. And about 20 minutes later- ta da!


I'm pretty happy with the overall affect! I think I might opt to spray paint the frame white and add a few more items on the wall in a bit of a cluster when I get some more time.

DIY home research

So over the weekend Steve and I embarked on our first bit of DIY home research by visiting the HIA Renovation and Build Expo at the Convention Centre. A giant room filled with just about everything you need to consider when renovating.

There were kitchens and bathrooms, bedrooms, living rooms, outdoor areas and just about everything in between. Choices of timber, marble, tiles, concrete, polished concrete and endless possibilities for tools.

As much as it was about getting ideas about our future home, it was about getting a clearer idea of what each other wanted to see in our future house.

We grabbed more than our fair share of brochures and business cards and will now house them in a shoe box until well- will have a house to house them in!


Monday 6 May 2013

Call Me Martha


I'm not sure why but Sundays always feel like creating days. Inspired by a friend's post on instagram and eyeing off some amazing chevron cushions online- I decided I'd make some cushions for our bed, and in the spirit of saving I'd do it all by my lonesome. 


Only problem... I don't know how to sew. Never blessed with the sewing gene as my sister Sarah was, I took to Pinterest to hunt down "no-sew cushion covers". And hooray I found some- so off to Spotlight I go. 

Slightly overwhelmed and feeling out of my depth I was forced to stop and ask for directions very early on. I sort out a hipster looking attendant, as I thought she would secretly be impressed by my no-sew idea- and would also know which material would suit best. Turns out- cushions can be made out of just about anything. Go figure!

I hunted down three cushions, three super cute designed fabrics and the secret ingredient- iron on hem tape. 
I cut two pieces of material about 3cm larger than the pillow. I then cut out four strips of the iron on tape per pillow that measured the exact length of the pillow.  
I then lay out three of the strips of tape onto the printed side of the material- ensuring to leave one side of the square free which would act as the opening. Using a warm iron on the wool setting I ironed over the paper side of the tape.
Allowing them to cool completely- this didn't take long- I took off the paper strips.

You could make out a clear line of glue. Grabbing the second piece of fabric- print side down- I proceeded to iron over the material again.

After it cooled was the tricky part. You had to turn the cushion cover inside out and then stuff the cushion very carefully into the cover. I will admit the first time around I pushed the cushion in a little too hard and the glue pulled. But that just ment I had to cut another piece of iron on tape and redo that section.

At the top of the cushion you have to fold down either side of the material to create a clean finish. Then like before, I used the iron on tape and ironed it. I pulled off the paper, and then carefully lining up the edges I ironed over the tape to close off the cushion.

Closing up the cushion was by far the hardest part. I'm not a perfectionist at heart but I really had to try my hardest to ensure the cushion had a neat close.

One cushion down, two more to go. 


Steve (patient boyfriend) did get quite a laugh out of how excited I was at creating the cushions. I was very proud that a non-sewer could still make a great looking cushion. I highly recommend trying it for yourself.

And overall, three cushions, material and iron on tape ended up costing $50. Now I just have to convince Steve that spending money actually ment we were saving money!